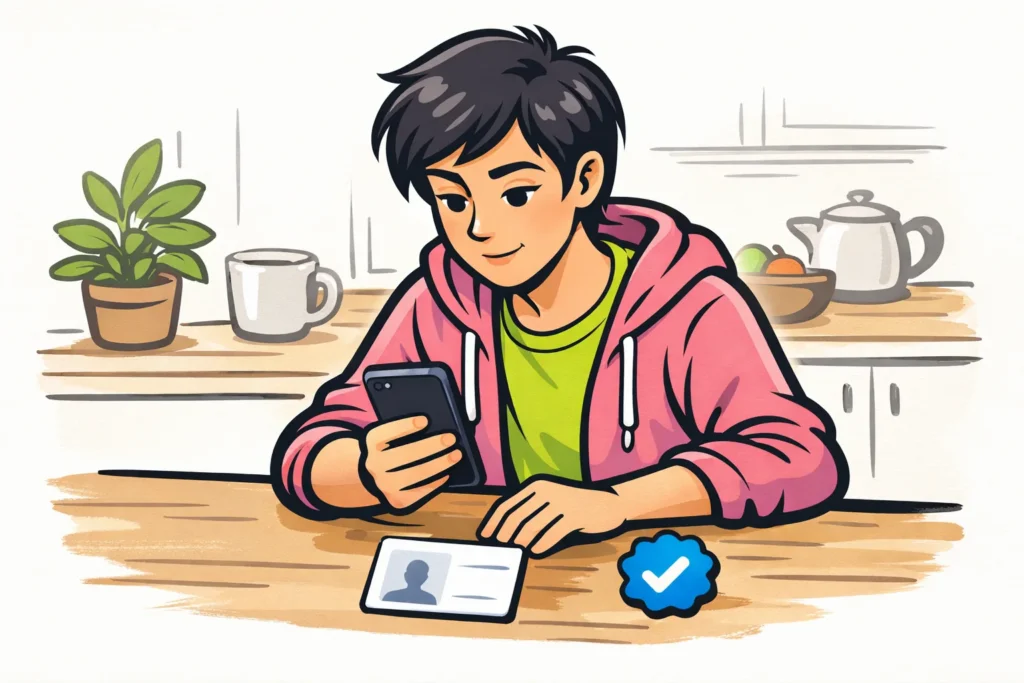
You can request a blue checkmark on Instagram through the free verification request or through the paid Meta Verified subscription. The free option is intended for well known people and brands. Meta Verified includes identity verification. First check your own Instagram account to see which option is available to you and read the terms. A request or payment does not automatically entitle you to a checkmark.
Below, you’ll learn which option suits you, how to prepare your request and what to do if an option is unavailable.
What does a blue checkmark on Instagram mean?
A blue checkmark is a verification badge: a mark beside a verified account. According to the official explanation of the Instagram verification badge the badge confirms that a well known account genuinely belongs to that person or brand.
The checkmark is not a seal of approval for everything someone posts. An account with a checkmark can still make mistakes, give poor advice or sell a disappointing product.
A checkmark can be useful when people do not know which profile belongs to you. Imagine a musician from Belgium with several fan accounts under nearly the same name. In this fictional example, a checkmark helps people identify the real account. Do you share a private profile only with friends? Then that distinction is usually less important.
Should you choose free Instagram verification or Meta Verified?
Do you want to be recognizable as a well known person or brand? Then review the free request. Considering a paid subscription that verifies your identity? Then look at Meta Verified.
When Meta Verified was introduced in 2023 Meta described a subscription with a badge, identity verification, protection against impersonation and access to support. Before you pay, read what the subscription currently offers.
| Question | Free verification | Meta Verified |
|---|---|---|
| What is it? | A free request for a well known person or brand. | A paid subscription with verification. |
| What do you check beforehand? | Which details and evidence you need to submit. | Whether your account can participate and what the subscription includes. |
| What should you consider? | Having many followers is not the same as being well known. | The price, billing period, terms and how to cancel. |
| What is not guaranteed? | That your request will be approved. | That more people will see or follow your posts. |
For a Dutch or Belgian account, use the price and terms shown in the official offer. Do not rely on an amount from an old guide or another country.
How to prepare for free Instagram verification
Instagram’s buttons and menus can change. Therefore, follow this preparation and use the instructions shown in your own account.
- Check your profile. Do your name, photo and description make it clear who you are? Correct any errors before submitting a request.
- Search Instagram for the official information. Check the settings or help feature for verification or a verification badge. Confirm that the information concerns the free request and not a subscription.
- Read which details are required. Gather what the form requests. Do you need to show that you or your brand is well known? Then use relevant information that Instagram can verify.
- Review your answers. Check names and references. Include only information that you can support.
- Submit the request through the official process. Note when you submitted the request and follow the instructions you receive afterward.
Do you want to first change your Instagram username? Then choose the name people should use to find you before submitting your request. This way, you will not use different names during your request.
Can’t find the free request?
Check that you are signed in to the right account. Then look in the official help section for the free verification request. Do you see only Meta Verified? You do not have to pay if you do not want a subscription. Without an available request option, you cannot complete the free process at that time.
How to request a blue checkmark with Meta Verified
Meta Verified is a subscription, not a separate purchase of a checkmark. Therefore, look not only at the badge, but also at the costs and terms.
- Find Meta Verified from your own account. Use the official Instagram or Meta environment. Do not open a payment link from an unknown message.
- Read who can participate. Do not assume that the same terms apply to a personal profile as to a business.
- Review what you get and pay for. Check the price, billing period, included support and how you can cancel.
- Read how your identity is verified. Check which details are required before sending anything. Share sensitive documents only through the official request environment.
- Follow the request steps on your screen. Then check the status of your request and any follow up questions. Paying does not mean that your verification will be completed immediately.
Do you not see an offer? Look in the official information for what applies to your account and region. Do not pay anyone who claims they can enable the missing option for you.
What should you do if your Instagram verification request is rejected?
Start with the notification about your request. It may contain a reason or further instructions. Without that information, you cannot determine why your request was rejected.
Then check the following:
- Does the option you chose suit your situation? The free request and Meta Verified do not have the same purpose.
- Did you fill in all the requested details?
- Are your name and other details correct everywhere?
- Do the references you included work?
- Is Instagram asking for a correction or additional information?
These are points you can check yourself, not a complete list of official reasons for rejection. Correct anything that is wrong. For a new request, follow the timeframe and instructions Instagram shows, not a fixed waiting period from an old blog post.
What does a blue checkmark on Instagram not guarantee?
A blue checkmark does not promise extra views, followers, customers or sales. Purchased followers are also not proof that your account qualifies for verification.
Do you mainly want more likes on Instagram? That is a separate question. A checkmark does not replace a photo or video that people want to respond to.
An account with a checkmark is not automatically safe either. Use a unique password and enable an extra login check. Never give your password or login code to anyone who says they can arrange your verification.
Did you receive a message saying your checkmark will disappear immediately if you do not click a link? Open Instagram yourself and check your account there. This way, you do not have to rely on the link in that message.
Make your Instagram profile recognizable without a blue checkmark
Even without verification, you can make it clear to visitors who you are. Review your profile:
- Use a recognizable profile photo.
- Briefly explain who you are and what you share.
- Where possible, use the same name in places where people already know you.
- Do you have your own website? Link to your Instagram profile there.
- Give important information a permanent place, such as details about yourself or your work.
For the latter, you can create Instagram highlights. This lets you group useful stories together on your profile. They do not replace verification, but they do help visitors understand who you are. If you also publish your own content, our Instagram services includes packages for followers and likes. The product pages show the available quantities and prices.