Is your Instagram Story blurry? First check whether the original photo or video in your gallery is sharp. If not, a new recording will usually help more than uploading it again. Is the original sharp? Then check your crop, upload settings and connection. Use the original file and change one thing at a time so you can see what makes a difference.
Below, you will read what to look out for and how to test it yourself.
Why does your Instagram Story become blurry?
A photo or video can lose detail when it is uploaded. This can happen because of compression: the file is made smaller. Fine details in particular can become less clear, such as hair, grass or small letters.
But the cause may also be in the recording itself. Perhaps your phone moved while you were taking the photo. Or you are using a forwarded copy that is already less sharp than the original.
Therefore, compare your Story with the original file. This table helps you decide what to check first.
| What do you see? | What do you check first? | What can you try? |
|---|---|---|
| The original is also blurry. | The recording itself. | Make a new recording with more light and keep your phone still. |
| The image becomes blurry as soon as you enlarge it. | How much you enlarge the image. | Enlarge it less or choose a vertical recording. |
| Only a forwarded version is blurry. | Which copy you use. | Use the file that comes directly from the camera. |
| The original is sharp, but the posted Story is not. | Your upload settings and connection. | First test one setting and then, if necessary, another network. |
An upload setting cannot restore missing details. If a face is already blurry in the original, you can usually make a new recording instead.
What dimensions can you use for a sharp Instagram Story?
A vertical file of 1080 by 1920 pixels is a useful starting point. Also StoryStalker recommends these dimensions and avoiding copies that have been resized again. It is a practical choice, not an official mandatory size.
The aspect ratio is 9:16. This means the image is taller than it is wide. Pixels are small image points. More pixels only help if your original photo or video also contains enough detail.
- Are you making a new recording? Hold your phone upright and decide in advance what you want to include in the frame.
- Are you using a wide photo? Choose which part you want to show. Do not enlarge the photo more than necessary.
- Are you editing the photo or video in an app? Choose the vertical dimensions before saving the final version.
Suppose you have a wide photo of your dog on the beach. You enlarge the photo considerably to fill the entire Story. You then use only a small part of the image. It is better to show a little more of the surroundings than one heavily enlarged detail.
How do you enable high upload quality for Instagram Stories?
Open Instagram’s settings and look for media quality, upload quality or data usage. The names and locations may differ between app versions. Therefore, there is no fixed menu path that works for everyone.
Postiz mentions highest upload quality, data saving, connection and app version as points to check for blurry Stories. Go through the settings as follows:
- Look for an option with a name such as ‘Upload at highest quality’ or ‘Upload at highest quality’.
- Do you see that option? Enable it and test with a sharp original file.
- Then check whether data saving is enabled. Temporarily turn it off for a separate test. This may use more data.
- Can you not find the upload quality option? Check whether an Instagram update is available. If the option is still missing, continue with the other checks.
Even with the highest upload quality, your Story may look different from the original. The setting is therefore something to test, not a solution for every blurry image.
Test your connection with a blurry Instagram Story
Use a stable connection. WiFi is not automatically better than mobile data. What matters is which connection works well at that moment.
Also pay attention to the difference between uploading and viewing. If your Story looks blurry on your phone, the posted file itself does not necessarily have to be poor quality.
- View the same posted Story via another connection.
- If necessary, ask someone who is allowed to see your Story whether the image is also blurry there.
- Does the image remain blurry? Upload the same original file via another stable connection. Change nothing else.
Is the same Story sharp later or on another device? Then first look at your connection and playback before editing the photo again. When testing via mobile data, keep an eye on your data allowance.
Use the original to prevent additional quality loss in your Story
A forwarded photo or video may already be less sharp than the original. If an app resizes the file again or saves it with quality loss, more details may disappear. This is called double compression: the same file is made smaller more than once.
Suppose someone sends you a video via chat. You edit that copy and save it again. You may then be working with less detail than in the original recording.
Limit those intermediate steps:
- Take the original file from your gallery or ask the creator for the original.
- Do your edits in one project as much as possible.
- Save one final version and use it for your Story.
- Do not use a screenshot or screen recording if you have the original file.
Do you not want to post your own recording but share an existing Story? Then read how to repost an Instagram Story.
Test step by step what makes your Instagram Story sharper
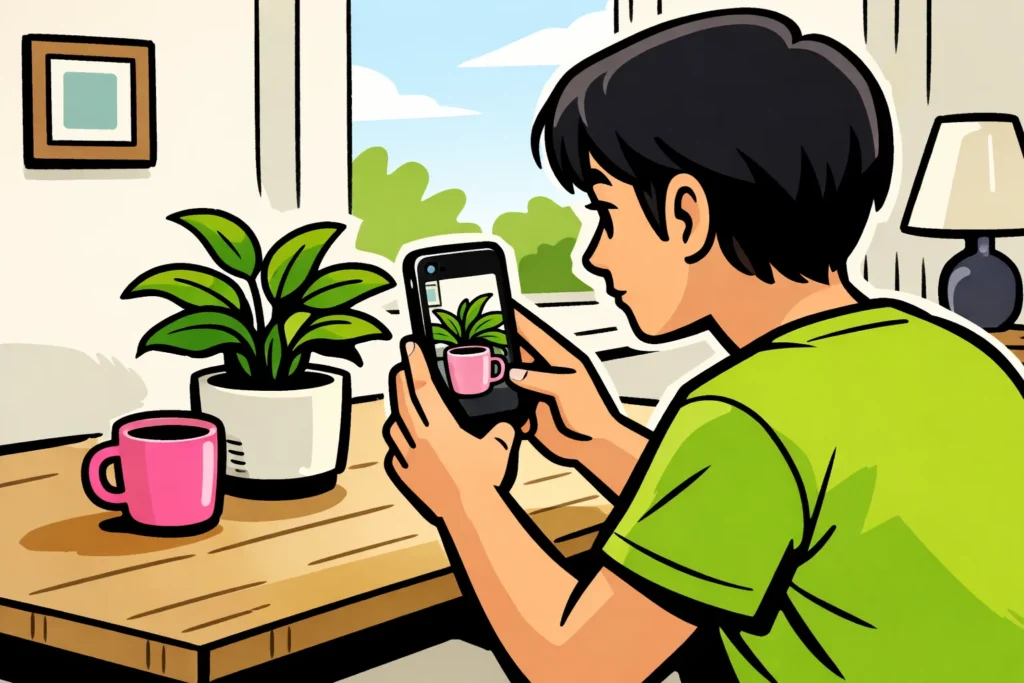
Choose a short video with clear details. For example, film a stationary cup next to a plant by the window. Check that the original is sharp and use the same file for each comparison.
- Post an initial test. Note which connection you use and what your upload settings are.
- Change one setting. For example, andable the highest upload quality if that option is available. Leave everything else unchanged and post the file again.
- Compare the same detail. Look at the edge of the cup and the leaves. View both Stories on the same device and via the same connection.
- Then test something else. For example, try another connection for uploading without changing your file or settings.
Do you want to know whether a forwarded copy is the problem? Compare it separately with the original. Keep your settings and connection the same for both uploads.
Briefly write down what you changed and what you saw. One sharper upload does not yet prove that you have found the cause. Repeat the comparison if the difference is small.
Does the image remain poor quality? Completely close Instagram and reopen the app. If necessary, test with another sharp recording. This shows whether the problem is limited to one file or occurs with multiple files.
Do you see no blurry image but a message that the Story is unavailable? Then read why an Instagram Story is unavailable. Other checks are needed for that.
Is your image sharp and are you looking for something to post? View these Instagram Story ideas.